Common Tile Installation Problems and Their Solutions
Tiles can improve the appearance, durability, and functionality of floors and walls. Whether you are renovating a home, designing a bathroom, or finishing a commercial space, the quality of tile installation plays an important role in the final result.
Common issues such as uneven surfaces, loose tiles, cracked grout, and poor alignment can affect both appearance and durability. Understanding these problems before starting a project can help you make better decisions and achieve a clean, long-lasting finish.
In this tile installation guide, Hardik Sai Ceramics explains common installation mistakes, their solutions, and practical ways to achieve better results.
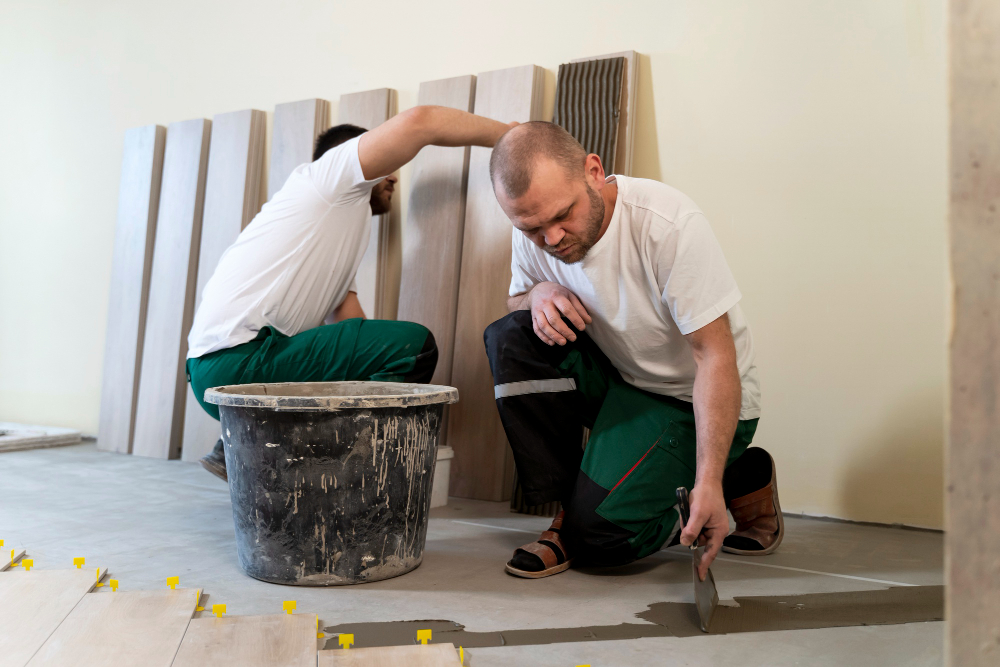
Why Proper Tile Installation Matters
Proper tile installation helps create a level, stable, and attractive surface. It also reduces the risk of premature damage and costly repairs.
Correct installation improves the overall appearance of floors and walls, helps prevent tiles from becoming loose or cracked, supports better moisture protection in wet areas, and creates consistent grout lines and even spacing.
Following proper tile installation techniques is essential for ceramic tiles, vitrified tiles, and other tile varieties.
Common Tile Installation Mistakes to Avoid
Some tile installation problems occur because of rushed work, unsuitable materials, or insufficient planning.
Common tile laying mistakes include installing tiles over an uneven or dusty surface, using the wrong adhesive, maintaining inconsistent gaps, applying grout incorrectly, cutting tiles without accurate measurements, and skipping waterproofing in bathrooms and other wet areas.
Careful preparation, appropriate materials, and skilled workmanship can help prevent these problems.
Improper Surface Preparation Before Tile Installation
One of the most common mistakes is laying tiles on a surface that is uneven, weak, dirty, or damp when it should be dry.
An unsuitable base can prevent proper bonding and may cause tiles to crack, shift, or become loose over time.
How to avoid it: Remove dust, grease, loose material, and debris. Check the surface for cracks and uneven areas, repair damaged sections, and ensure the substrate is suitable for the selected tiles and adhesive.
Follow the manufacturer's instructions for surface moisture and preparation. Proper preparation creates a stable foundation for successful floor and wall tile installation.
Incorrect Tile Spacing and Alignment
Uneven spacing can make a tiled surface look unprofessional. Poor alignment may also become more noticeable as the installation progresses.
Use tile spacers to maintain consistent grout gaps. Mark reference lines before starting and check alignment regularly with a level or suitable measuring tool.
Dry-lay a small section when necessary to plan the pattern and identify where cuts will be needed. This approach is especially helpful for large-format tiles and decorative designs.
Choosing the Wrong Tile Adhesive
Not every adhesive is suitable for every tile or surface. Selecting an unsuitable product can lead to poor bonding, loose tiles, and installation failure.
Large or heavy tiles may require an adhesive specifically designed for their size and application. Wet areas may also need products compatible with the intended environment.
How to avoid it: Choose adhesive according to the tile material and size, check compatibility with the substrate, and consider whether the installation is indoors, outdoors, or in a wet area.
Follow the manufacturer's mixing, application, working-time, and curing instructions for ceramic tile installation and vitrified tile installation.
Poor Grouting Techniques and Uneven Grout Lines
Grout fills the gaps between tiles and contributes to the finished appearance. Poor application can result in inconsistent lines, weak joints, discoloration, or cracking.
Clean the joints before grouting and use a grout suitable for the tile spacing and installation environment. Apply it evenly, remove excess material as directed, and follow the manufacturer's cleaning and curing instructions.
Do not rush the process or expose newly grouted surfaces to water before they are ready. In areas subject to movement, suitable movement joints should be incorporated rather than filling every joint with rigid grout.
Incorrect Tile Cutting and Placement
Incorrect measurements and careless cutting can cause uneven edges, visible gaps, and unnecessary tile wastage.
Measure the area carefully before cutting. Mark each tile accurately and use an appropriate tile cutter or wet saw for the material.
Plan the layout around doorways, corners, drains, and other obstacles. Where possible, position cut edges in less prominent areas while maintaining a balanced pattern. Handle cut tiles carefully and check each piece before fixing it in place.
Ignoring Waterproofing in Wet Areas
Bathrooms, showers, balconies, and other exposed areas need appropriate moisture protection. Tiles and grout alone do not create a complete waterproofing system.
When waterproofing is missing or incorrectly installed, moisture can penetrate the underlying structure and contribute to leaks, dampness, or material deterioration.
How to avoid it: Use a suitable waterproofing system where required, prepare the substrate according to product instructions, seal corners and pipe penetrations correctly, provide suitable drainage slopes, and complete required waterproofing checks before tiling.
How to Prepare a Surface for Tile Installation
Good surface preparation helps improve adhesion and reduces the likelihood of future tile installation problems.
Measure the installation area and plan the tile layout. Remove dust, grease, loose material, and old adhesive where necessary. Repair cracks, correct uneven surfaces, and check that the substrate is strong enough to support the installation.
Confirm moisture conditions, complete waterproofing where required, and select compatible adhesive, grout, and installation tools. Allow repair materials and waterproofing products to cure according to their instructions before laying tiles.
Tips for Achieving a Professional Tile Finish
A professional-looking result requires consistency throughout the installation process.
Choose tiles appropriate for the room and its intended use, inspect tiles for visible defects, check alignment and spacing regularly, follow the recommended adhesive coverage and curing time, and use suitable trims for exposed edges and corners.
Allow the installation to cure before walking on it or placing heavy furniture. For large projects, complex patterns, or wet areas, hiring an experienced tile installer can help reduce avoidable mistakes.
How to Maintain Newly Installed Tiles
Once installation is complete, proper care helps preserve the appearance of your tiled surfaces.
Wait until the adhesive and grout have cured before regular use. Clean tiles with products suitable for their finish and avoid harsh chemicals that may damage grout or tile surfaces.
Address cracked grout and loose tiles promptly, use appropriate sealers where recommended, and keep drainage areas clean. Routine maintenance helps keep tiled floors and walls looking attractive for longer.
How Hardik Sai Ceramics Can Help You Choose Tiles
Successful tile installation depends on careful planning, proper surface preparation, suitable materials, and attention to detail. Avoiding common mistakes can help reduce repair costs and create attractive, durable tiled surfaces.
Whether you are planning a bathroom renovation, a new floor, or decorative wall tile installation, Hardik Sai Ceramics can help you explore suitable tile options for your project.
Choose quality materials, follow proper installation practices, and invest in skilled workmanship to achieve a finish you can enjoy for years.